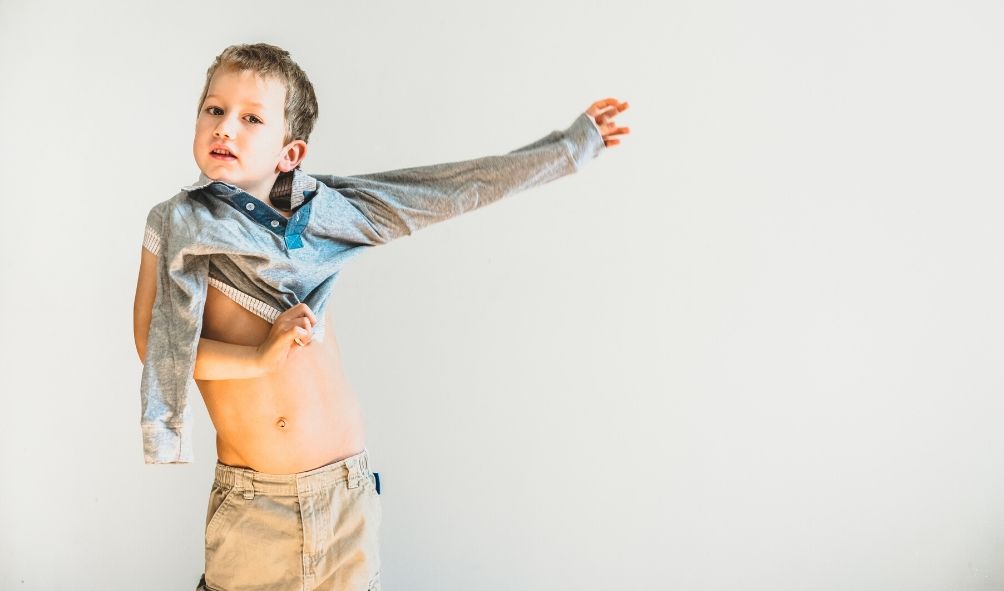
Dressing is one of my favorite things to talk about! Does that make me weird? Probably. I don’t care. I think I like it because there are tangible tasks that we can teach our kids to be more independent and we can SEE progress. Imagine having that child put his own shirt on and smile about it. Yaassss.
Research suggests that dressing is a core skill that is beneficial to learn for both the child and caregivers. It fosters a sense of responsibility, independence, and builds motor skills. If the child you are thinking about has a developmental delay or disability, this may resonate with you. Encouraging independence in dressing can decrease the need for additional assistance from a caregiver for a private self-care task.
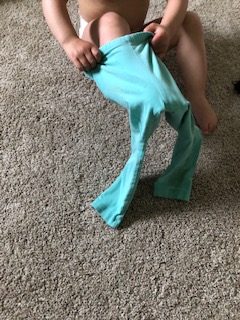
Below are some general guidelines to understand what your child could be working on, not should be working on. It all depends on your situation, your set up, your child’s abilities, and let’s face it, their interest. My daughter started putting on pants at 14 months old because she was obsessed with it.
I mean obsessed.
I started to think, “Ok girl, play with a ball or something instead please!” Other kids have zero interest. Take these ages and skills as a guide, and know that kids can start participating in the following tasks, so you can start supporting them, but it may also take them some time to master a skill.
- At 12 months, children can take off socks as well as push arms through sleeves.
- At 18 months, push legs through pant holes, but have difficulty weaving them through the (right) holes. Also can put on simple hats and push off shoes.
- At 2 years, children can push pants down, weave arms through sleeves, begin putting socks on and become successful with bigger, shorter socks. They can begin putting legs through holes of pants and take off a coat. You can begin teaching an alternative form of putting on a coat (flip trick or chair trick, see below). They can zip and unzip a zipper once it is engaged and started.
- In the 3rd year, children can learn to put on loose clothing without fasteners and are able to continue working toward zippers and buttons. They can put on shoes with velcro.
- In year 4, they can take off an overhead t-shirt and are able to button and unbutton as well as engage a zipper. They are able to identify the front and back of clothing.
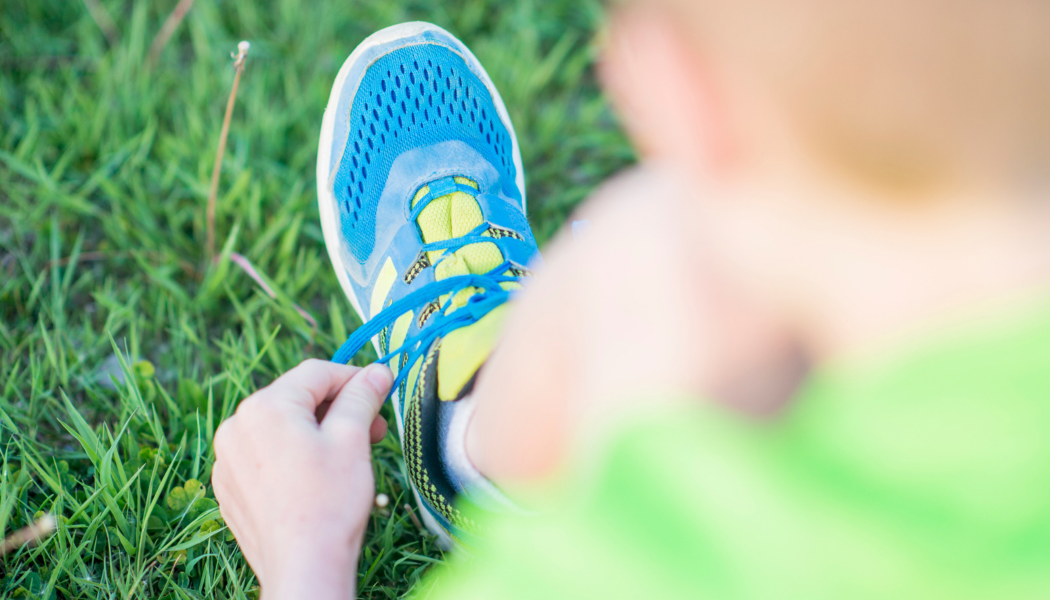
- In year 5, children can complete zippers, snaps, buttons, and begin to learn how to tie shoes, with the right type of set up (stretchy clothing, big enough clothing).
- By 6 years old, children can be quite independent in dressing with an occasional need for reminders for weather-appropriate clothing.
There are a number of reasons that a child may have difficulty with dressing:
- motor impairments (strength, range of motion, coordination)
- sensory processing difficulties (tactile sensitivity, body and spatial awareness)
- executive functioning delays (sequencing, attention to task)
- visual impairment (directional awareness, imitation limitations)
- age or developmental level, motivation and confidence (which impacts interest!), and a lack of encouragement from caregivers. (Let’s face it, it’s just easier to dress them!)
These factors can impact a child’s ability to sequence the task, feel the clothing and his limbs through the clothing (and be ok with that sensation), plan a motor action, initiate and carry out that motor action, keep attending to the task at hand, manipulate the clothing with his fingers, maintain an upright posture, differentiate besides the sides of his body…. Oh my gosh! All of the things! This is a hard activity that does not come naturally to every kid. I want to give a few general ways to encourage dressing independence for the child in your life.
First, a few things:
- These are ways to try to make dressing a part of the child’s day. By [trending toward] implementing it into a daily routine, you can assure continued progress with practice.
- This post does not address fasteners (buttons, snaps, zippers), that will come later. Start with easy clothing- those that are big, stretchy, short sleeves or shorts, and ones that don’t have fasteners.
- If your child has difficulty with grasp strength, bilateral coordination, balance, core strength, or another area of challenge, tune in for a future post on specific activities to build dressing skills to promote independence in the activity.
So let’s get on with it, here are: 7 Ways to Help Your Child Dress Themselves
1. Practice outside of routines
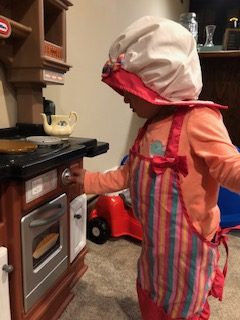
She needed a model from me first, but then was very much into it!
Allow your child to practice putting on clothes outside of the context of a morning or nighttime routine. I don’t know about you, but when I want my kid’s clothes to be on, horsing around is not what I’m looking for! However, when I’m folding clothes and she wants to sit and play around with the clothes, I’m all for it. Have dress up clothes, uniforms, costumes, swimsuits and leotards available, allow full access to clothes in their drawers, and even try on Mom or Dad’s clothes. This all helps to encourage practice without the time constraints and pressure. Practice helps with coordination, sequencing the process and steps, as well as the directionality of the clothing.
*This post contains affiliate links and I may receive commission when you click on links and make purchases. However, this does not impact the price you pay!

2. Practice off of their body
Dress other toys in the house. This takes a lot of fine motor coordination, so this might be for those older kids in your life. However, it helps them understand the sequence and direction of clothing, which can be tricky concepts. It also builds strength and dexterity in their little fingers that are necessary for dressing. So, if your kid is opposed to putting his own clothes on, have him dress his superheroes during play instead. (The doll to the right is from Lovevery. I highly recommend their stuff, but that is for another post! Seriously, though. Check them out.)
3. Have a Dressing Spot
Designate a “dressing spot” in his room. This could be a small chair, sitting on a firm bed, against a wall, a spot on the floor or in the corner of a room. This is helpful for a few reasons: it gives a contextual place for dressing, it helps with the concrete nature of stepping into pants, and it helps support a weak core, unstable posture, or a kid with poor spatial or body awareness. If the child in your life lacks core engagement (as seen in spinal cord injuries, muscular disorders, spina bifida), doing this on the bed or sitting in the corner may be the best spot to safely go from sitting to lying down, which is necessary for pants.
But try a chair. Have you ever sat in a chair and put your pants on? I’m telling you, WAY easier! Any sturdy kids chair will do, but here is an idea. Consider the child and if she may need lateral support or not. If so, here is another idea.
4. Consistency and Similarity
Lay the clothes out the same way for the child every time. This helps with predictability for motor planning, which can lead to success. This is particularly important when just starting. Discuss with different caregivers how to set the child up and how much help you’re giving so that it is consistent. Narrate certain parts of the task in the same way: “tag goes in the back”, “one foot in one hole, the other foot in the other hole”, “find the sleeve!” Whatever works and resonates with your child.
5. Backward Chaining
This is an approach where you give as much help as necessary, then allow the child to do the last step or part of the last step. This allows the child to feel supported and yet successful. As she improves, you pull away and leave the next to last step. Dressing is an excellent way to try this. Think about putting on a shirt:
— You can put the shirt over the child’s head, help him weave their arms through, and pull it down to his chest. Then he starts to pull his own shirt down. Then he begins putting his own arms through the holes once his head is through. Then he pulls the shirt over his head when it is set on top and continues on. You next hand him the shirt in a circle and he grabs it to put over and down his head and completes the rest. Lastly, you lay the shirt out for him in that circle and he grasps it, puts it over his head, weaves his arms through, and pushes it down his chest.
Slowly, slowly, you go through these steps. It takes repetition and successes to show him that he can do this for himself. This approach is particularly helpful for kids that ask for a lot of help as well as kiddos that have developmental disabilities. By breaking down the (big) task of putting on a shirt, it is more attainable. Help just enough to make them feel successful. Some days, that might be giving a lot of help, and that’s ok.
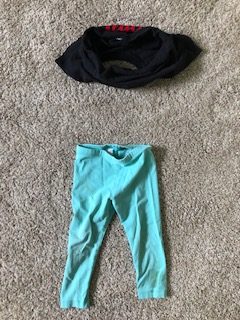
6. Practice with the easiest clothes
Start with pieces of clothing that give the concept without the challenge of real clothing. For example, putting on a skirt is easier than pants. Start by playing with skirts, tutus, or shorts before trying pants independently. Teach your child the “flip trick” with coats. You know, the one that every preschool teacher in the world knows: lay the coat on the ground, child stands by the hood, puts their hands in sleeve holes and brings it over their head (kudos to the inventor of this, BTW). Another trick is putting the coat on the back of a chair, facing out. The child can then stand behind the chair and weave his arms into his coat, walk forward, and pull the coat off the chair with his arms in. If your child has visual impairments or needs more motor stability, consider putting the coat on the back of a child’s chair, facing forward, have them sit in the chair and complete the same steps. These approaches consist of the same concept as putting on a shirt. Slowly, you can relate this back to the shirt and teach them to approach it the same way. Also, by giving them successful opportunities in these situations, they may be more motivated to try the regular ol’ shirt and pants.
7. Have “Jobs”
Designate “your job, my job” for clothing across caregivers. Have the child complete the tasks that they are successful with every time. Slowly introduce new jobs to their list as they get better and better. Have you noticed that sometimes kids put up a fight or an act with different caregivers? Ha! Why yes, yes I have… This way, there is no question about who does what on a given night.
If the child in your life has difficulty with the physical task of dressing, tune in for some tips on breaking down the steps and practicing each individual piece in a future post (Coming soon!). And if the sequence is the hard part, consider an additional visual support which will further break down the task. Know that it will take time and consistency for success. But keep at it!
What are your pro tips for dressing? What is challenging, what are your successes? What helps your child with this area of independence?
Dressing Skills: Developmental Steps for Kids
Teaching Your Child How to Get Dressed
Gross Motor Skills and Independent Dressing
Case-Smith, J., & O’Brien, J. C. (2010). Occupational Therapy for Children. Elsevier Health Sciences.
Hayton, J., Wall, K., & Dimitriou, D. (2019). Let’s Get It On: Dressing Skill Development in Children With Vision Impairment and Children With Down Syndrome. Frontiers in Education, 4. doi:10.3389/feduc.2019.00149