*This post contains affiliate links and I may receive commission when you click on links and make purchases. However, this does not impact the price you pay!
What is this even? Why does it matter? Don’t we eventually use one side of our body more anyways? How do kids learn these things?
Bilateral coordination is the integration of both sides of our bodies to achieve a skilled task. Let’s break that down a bit:
-integration is using smaller parts, bringing them together in order to create a larger system or action
-both sides of our body means arms and legs, one arm and one leg, or the other arm and the other leg
-a skilled task is the goal activity
All of this requires coordination, core strength, midline awareness, and right and left side differentiation. This is asking a child to do a lot in order to be successful! An individual needs to be able to plan, sequence, initiate, and carry out movements on both sides of their bodies in a coordinated way. Oftentimes, this is a challenging skill when a child has general coordination difficulties or when they may have asymmetric musculature (one side of the body has different tone or strength than the other). For example, a child with an injury to their central nervous system (as seen in cerebral palsy) or to their peripheral nervous system (as seen in a brachial plexus injury) can have one arm and/or leg have different motor capabilities.
So what makes “bilateral coordination” so important? Don’t some individuals learn to use just one side of their body? Yes, yes they do. But use of both sides of our bodies is important for most skills we do throughout the day including walking, visually scanning, maintaining our balance, writing, eating, the list goes on. It is also important in strengthening the connection between our brain and bodies. Even if a child has better use of one side of their body over the other, it is incredibly important for them to use bilateral integration activities to activate both sides of their brain, gain an important sense of their body and the space around them, and to utilize the side that doesn’t work as well to its fullest potential for functional use.
Just how do we strengthen and encourage this for our kiddos? Depending on your child’s developmental level as well as any differences in musculature that they may have, he might need more help in one area or another. Below is a list of ways to support bilateral coordination with the child in your life. Remember to take the ages lightly and just start where your child is at. If the child in your life needs extra core stability, make sure he or she completes these tasks in a very supported position- on her back as a baby or in a supportive chair as a toddler or kid! Since the list of activities was getting quite lengthy, I’ve decided to break this up into 2 parts. This current list is more for targeting upper extremities, hand control, and trunk engagement (but you’ll realize that they all overlap as well). Part 2 consists of more full body, gross motor activities to continue the fun!
Top Bilateral Coordination Activities by Age (Part 1)
0-3 months
Babies are just figuring out life. Their motor patterns are largely directed by reflexes that are designed for survival. You don’t need to expect much from babes at this stage from a coordination perspective, but note their symmetry and how each extremity is moving in comparison to the other.
- stretch both arms up by her ears
- turn palms over and up toward the ceiling
- cross arms to opposite knee for him
- bicycle legs (watch out for poo!)
- bring hands together at the middle to “clap” with them
- tummy time!!! It is not too early for this. In fact, you can start when Baby is just days old.
3-6 months
Baby has discovered hands and mouth! Helloooooo world! She is figuring out her grasping patterns, holding things at her middle, and bringing objects right up and into her mouth.
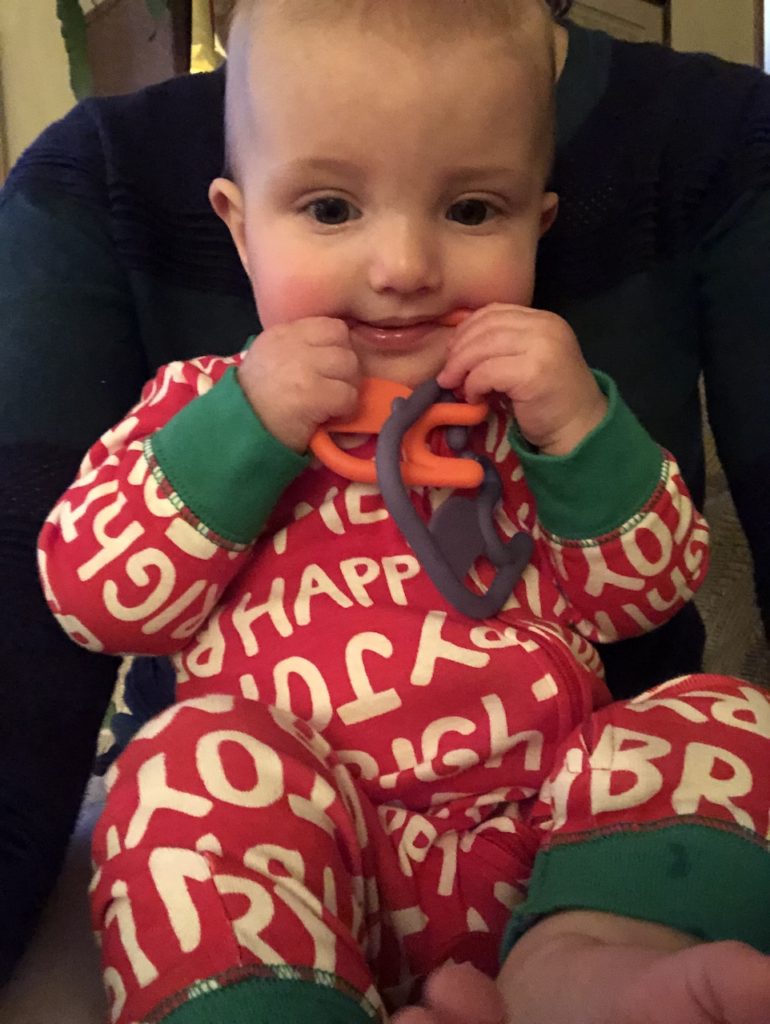
- if Baby is not holding objects with both hands, help him with your hand over his hand –try some of these toys for this: O ball, Skwish toy, winkle rattle: all of these are easy to grab because of the many loops to hold
- continue doing arm motion songs and clapping- look for increased interaction and visual tracking with this
- tummy time!!! (Do I sound like a broken record?) At this age, it helps give symmetric weight bearing opportunities through elbows and hands as they push up. This is great for strengthening hands and arms to encourage use and awareness of both sides. At this point, he might be pivoting around in his environment and rolling over, which is excellent!
- Happy Baby or hands to feet- this provides a beautiful awareness of both sides of a baby’s body as well as the difference between top and bottom halves.
6-9 months
Things get fun! Baby will begin passing objects back and forth between hands, imitate clapping, and begin banging objects on surfaces or together. She is also beginning the crawling phase. Crawling is a HUGE bilateral coordination activity (think: hand, knee, hand, knee). The following activities provide her with excellent awareness and use of both sides of her body.
- for crawling, start with Baby in hands and knees position and allow him to just rock back and forth. Do this over your leg if he needs a little help. (Coming soon! A whooooole crawling post. Stay tuned.)
- Baby could hold the bottle for himself and you could also begin introducing an alternate sippy cup as well. Place his hands on the bottle while you are feeding him if he does not do this naturally.
- assist her in holding one object in each hand. This provides an awareness of both sides of the body. Bring those hands together and bang the objects together with her. Step away and model the action yourself for her to imitate.
- encourage passing an item back and forth between hands. Some objects that are great for this are crinkle sensory toys or books, indestructible books, and any rattle.
- play “so big”! This is an excellent way to begin imitation and use of both sides of the body. The perfect activity to see Baby process the visual and verbal cue, plan the motor action of putting his arms in the air, and then completing it with a proud smile on his face!
9-12 months
Watch out world! She’s on the move! This stage is all about mobility to obtain specific items. Baby will likely be going from sitting to crawling and crawling to sitting to pulling up and sitting back down. Notice if she is always transitioning to or from one side or the other, or if she equally goes toward both. With this mobility, there are a lot of toys and items to explore in this phase. If your child is not mobile, present her with alternate toys frequently so she can be exposed to many options that she is not otherwise able to get herself.
- roll/throw balls- try squishy ones that aren’t as fast so she can keep up visually as well as grasp herself
- hold books with hard board pages. Continue reading all types of books. Books with lift-a-flaps and hand-held books like these are awesome and a big hit.
- standing at a surface, try water mats or paint in large zip bags taped to a surface so that Baby can explore without the mess.
- pull objects out of containers such as wipes, tissues, tissue paper. I know it’s annoying, but if you don’t care, just keep re-stuffing the same container with the same materials. [My daughter currently uses the same dry “wipe” to “change her baby”. I just keep putting them back in the container. Don’t tell her though…] I’d recommend small pieces of cloth because those things are going to go right into the mouth and wet tissue in the mouth is the worst.
- try toys that encourage holding something and putting it in such as this cool toy
12-18 months
Toddlers begin to use both hands to actually play with objects. They still have not established a “dominant” side, but they might use one hand to complete a task while the other holds it.
- large pop beads or Megablocks- both of these toys are fun to pull apart and push together
- interlocking cups/balls like these– the hole in the middle and easy-click design helps your child be successful. And I love toys that have more than one purpose (can use it for stacking, nesting, making balls, sorting, counting, colors… you catch my drift)
- nuts and bolts to practice twisting apart and completing two different actions with separate hands
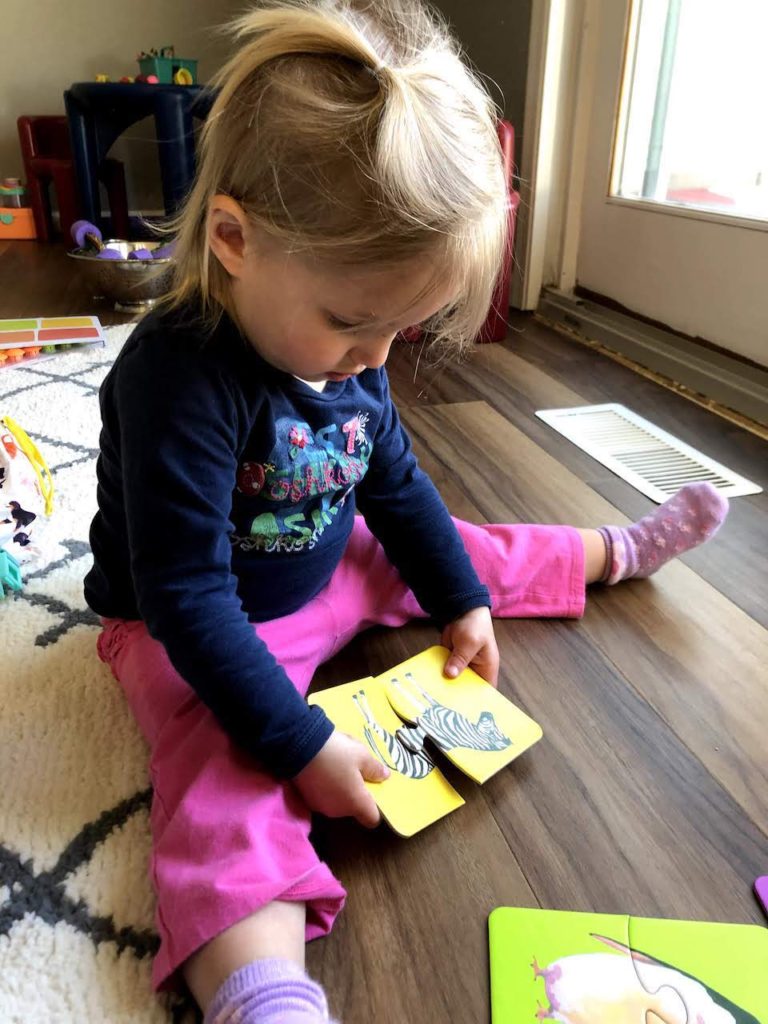
- books! Young toddlers become professional page-turners and flap-lifters. This is an optimal age for lift-a-flap books.
18-24 months
Toddlers’ little fingers are becoming more dexterous and their brains are becoming more curious! Watch out while alllll containers begin to be opened.
- zipper bags (like a dopp kit or cosmetic bag) and back packs- this also supports the toddler’s desire to be “big” and independent.
- buckles- check out a buckle pillow. Toddlers will be able to complete the buckle but not unbuckle yet, which is good because, you know, safety and stuff.
- plastic easter eggs. Blow his mind and hide small cut out stickers in there, which he can then take off the paper and stick to the egg — bonus fine motor and bilateral coordination task!
- Mr. Potato Head
- household items such as containers and lids, cups with lids and straw holes, dust pan and a brush, post it notes

2 years
Slowly. Slowly, his attention span is [SLOWLY] increasing, by just a little bit at a time. Also, his play skills are shifting toward more independent and imitative play, allowing for real interest in manipulating objects.
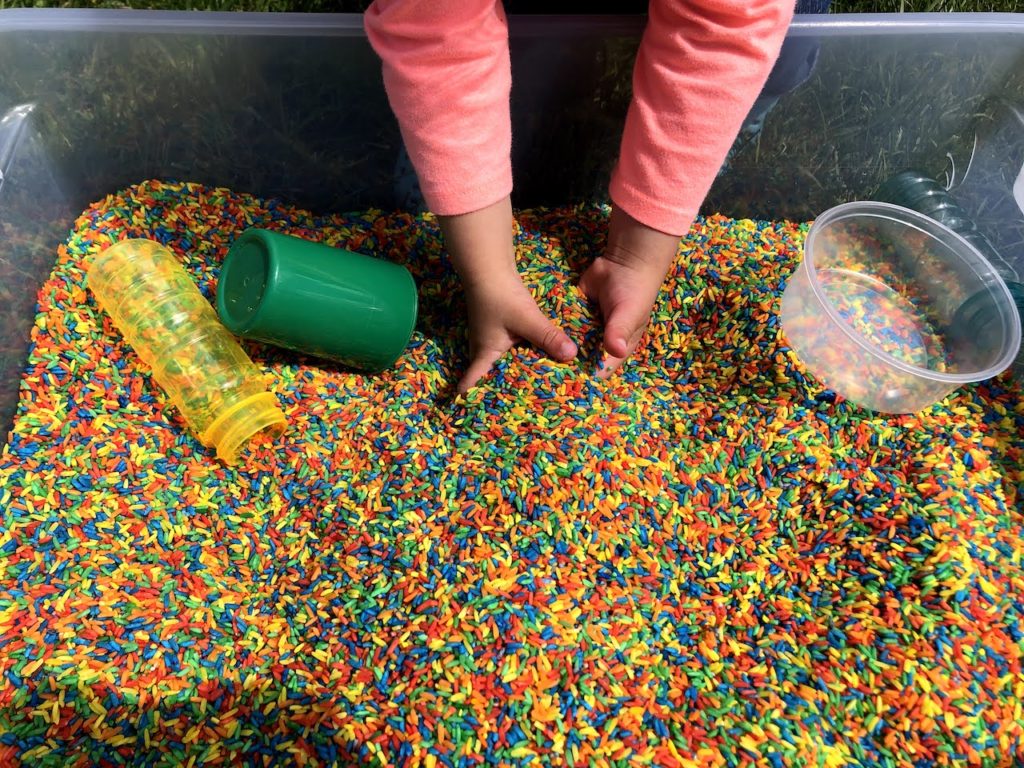
1 Cup white rice + 1 Tbsp white vinegar + food coloring. Mix in resealable bag or container and lay dry on a paper plate or parchment paper. Dries to the touch in one hour. (courtesy of Busy Toddler)
- twist tops off- try plastic, empty(!) spice jars for this. And heads up: once this skill is mastered, there are new safety and mess hazards all over the freaking place!
- hold a tower steady while building on top of it. I like to cue by saying, “Waaaaiiit…..Hold it steady!!!”
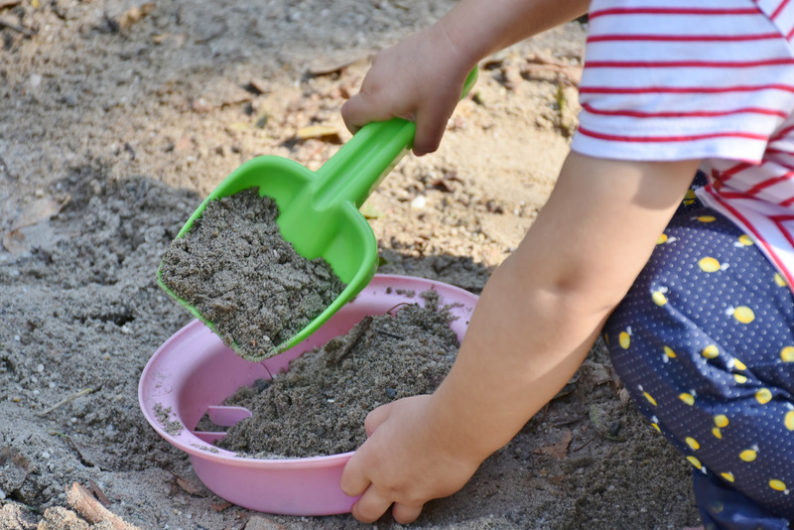
- hold a cup and scoop into it- sensory play with dry rice (check out the rainbow rice recipe above!), beans, pasta, sand, water, water beads, kinetic sand, moon sand, you get the idea.
- spray bottle and wipe- you’ll have to show her how to do this. Expect that she will start with two hands to get the concept. Keep encouraging her to use one hand and “squeeeeeze!!”
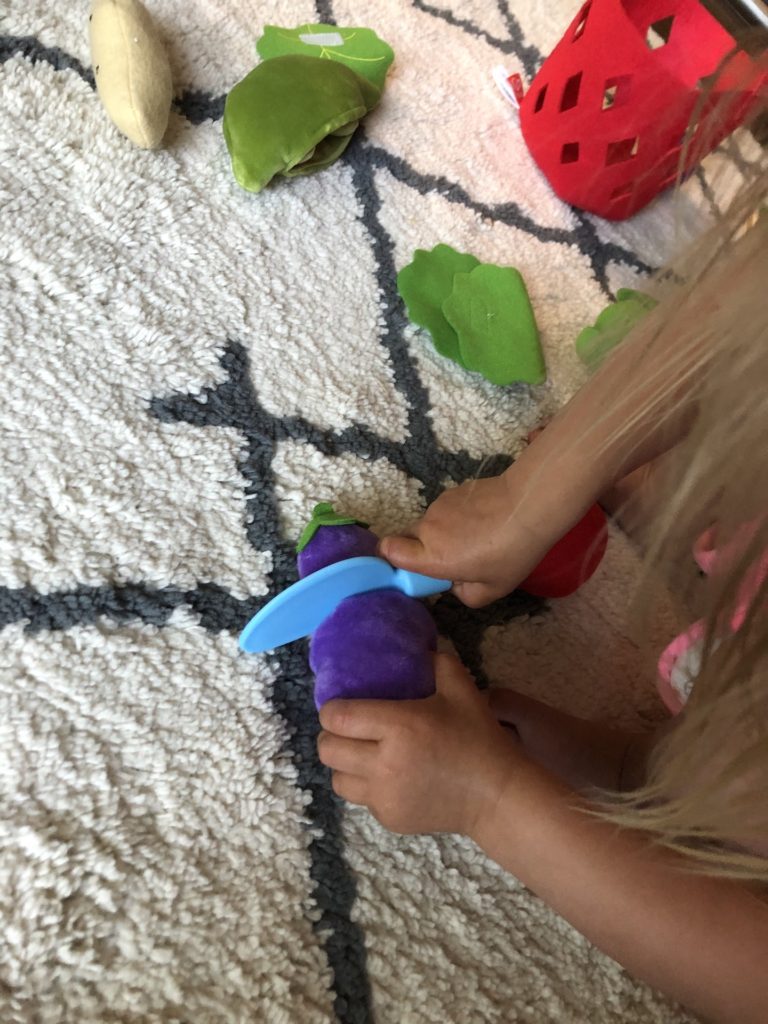
- cutting pretend food and if you’re real brave, cutting real food. Try using a cheese spreading knife because they are short and fat for their little fingers. Cut soft foods such as string cheese, cooked carrot sticks, sliced avocado, bananas, pear slices, French fries. I’d encourage using fingers to hold the foods versus a fork, because that’s just too hard for her at this point.
- bandaids and stickers! Fine motor skills galore with these puppies.
3 years
This is the time that a child will demonstrate the use of two hands in simultaneous and coordinated actions. You likely will see a dominant hand and leg forming or established at this time, but if you don’t yet, that is just fine!
- string large beads on strings. To make it easier, start with large beads with shallow holes and pipe cleaners. Consider cutting up a pool noodle and use a jump rope for super easy beading and getting the concept down.
- pour into cups- little cups with spouts (like a tea set) is great for this and helps with more success
- cut paper (possibly just snipping, and that’s ok! It is a hard skill to separate the fingers from each other and have both hands do something differently)
- button a shirt (also a hard skill!)- start by just showing her and having her pull the button through to give her the visual concept.
- hold the paper steady while coloring- encourage having a “helper hand”
- this is the sweet spot for Play Doh creation. Kids are still very interested in it and begin to actually create things with Play Doh. Use rolling pins, plastic knives, scissors, and cookie cutters for a whole session of bilateral hand skills!
4 years
At this phase, kids are really becoming quite good at tasks. They might be showing independence in dressing skills, which is huge for bilateral coordination. Their play skills are getting more adventurous and complex. And they are likely getting really into coloring, drawing, and even writing.
- introduce ball skills such as bounce-catch, catch with two hands, dribble and throw. Start with a larger ball, beach ball, or even balloon to give him good practice.
- cutting straight lines. Pro tip: use paint samples from the hardware store. They are perfect sizes and stiffness for early cutters! Then they can make a creation with all of the colors they cut out.
- beading with smaller beads such as pop beads or jewelry kits
- paper plate paint projects: put paint on one paper plate and put a second on top. Have the child use both hands to squish the paint together, twist and mix, and voila! Art.
- lacing cards. Ok, full disclosure: I actually remember not enjoying these as a kid. I didn’t get it. They did nothing for me. They brought me no joy. But what kind of OT would I be if I didn’t mention them? This is such an OT activity. So hey, go for it!
- yoga- check out these cool cards and visuals
5-6 years
By this age a child should establish a dominant hand. (I would start closer to 5 years old versus 6.) And if he has not, encourage this by naming hands as “coloring/eating/building hand”. Redirect him to use his “coloring hand” to help it get great practice! Most children are not ambidextrous. There are a lot of reasons that kids switch hands when doing tasks: fatigue or weakness, poor coordination, difficulty crossing the middle. These contribute to them using different hands for different things or different sides of their body, never allowing them to strengthen their coordination, dexterity, precision, or integrating both sides of their bodies. Notice which hand he starts with more often and encourage sticking with that hand.
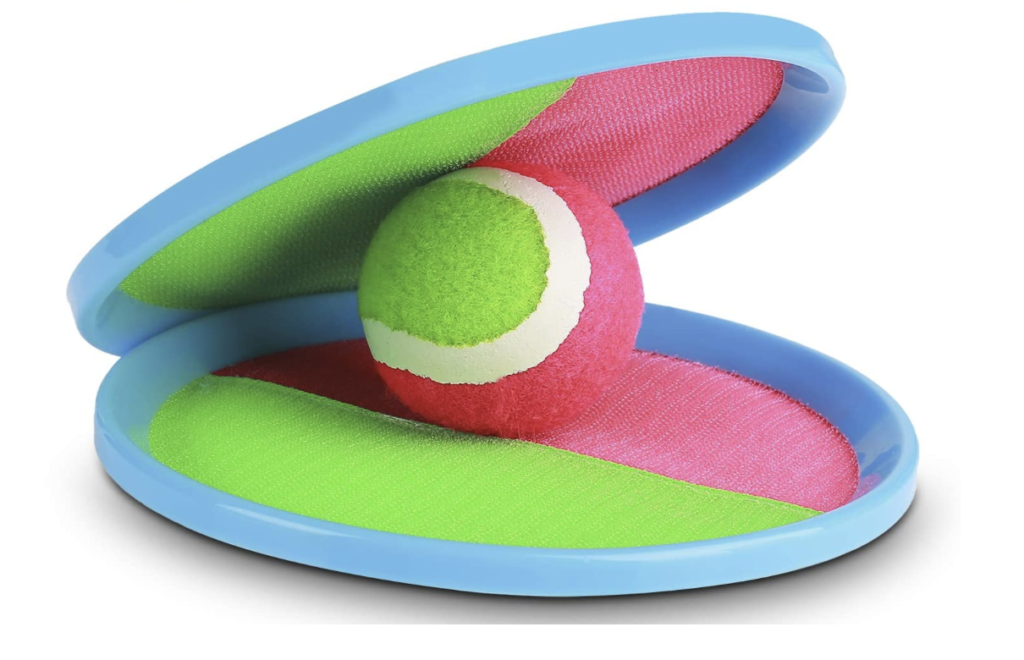
- play catch with a glove or velcro pads
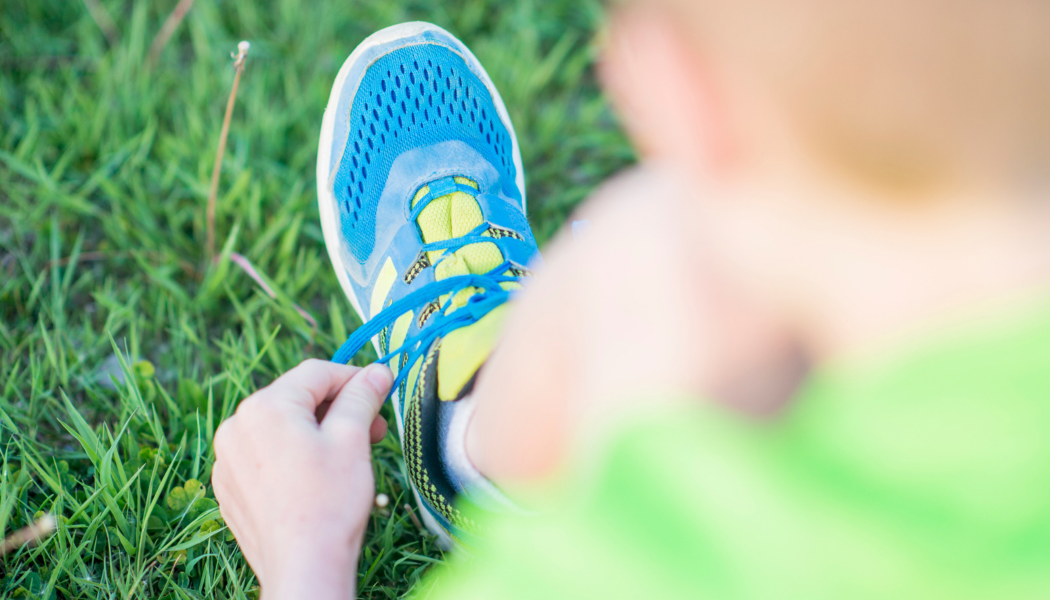
- shoe tying practice. Pro tip: start with jumprope around the child’s knees when sitting on the ground or in a chair!
- encourage jumping jacks or yoga poses with sidedness
- play the classic game of Twister
- modeling clay or Mad Mattr (this stuff is easy to clean up and does NOT smell, which is a win!)
- mixing bowls and assist in stirring, opening packages and containers, pouring, rolling out dough- really any help in the kitchen, and they’re starting to actually be helpful!
Elementary School
These kids are reading, writing, climbing, playing sports and board games, learning independence. Your kid is amazing and awesome. If the child in your life is not yet doing these things, do not worry. Go back to where she is at and work on those skills. Remember to use age ranges only as a way to categorize similar activities.
- shuffle and deal cards- appropriate games are Old Maid, Crazy Eights, Cribbage, Uno
- art of any kind
- try simple sewing, weaving projects, or making a tie blanket
- chores y’all! Sometimes I
revealjoke that this is the reason I had a child: to complete my chores. Sweep, dust, wash the windows, empty the dishwasher, wash the dishes, fold laundry. It may no longer be fun for her as it may have been when she was a toddler, but it is important to implement into her responsibilities and most chores incorporate bilateral coordination. - batting practice, tennis, hockey, lacrosse, swimming, tumbling, basketball, soccer
- cut their own food or start spreading butter, jam, or nut butter. Start with a butter knife with foods that are easier to cut (pancakes, hotdogs with no bun, waffles). Do encourage him to stab the food with his fork while he cuts. It takes practice and time, but this is a task you can encourage him to do for himself. For spreading, start with toast, crackers, or celery sticks, these are a little easier to spread onto than a fluffy piece of bread. Or, use a frozen piece of bread for lunches which will thaw by lunch, I promise. It’s way easier to spread onto.
- fortune teller hand games- remember these? I experience SUCH nostalgia when I make these with kids. This website has instructions to create from paper or provides a template to print.
So there you have it. Be sure to check out Bilateral Coordination Part 2 for more tasks that involve gross motor skills, full body strengthening, and midline crossing (coming soon!).
But I want to hear from YOU! What are some of your favorite activities to encourage bilateral coordination?
Bilateral Integration: Stages of Bilateral Integration for Reading, Tracking, Writing and Crossing the Midline
Case-Smith, J., & O’Brien, J. C. (2014). Occupational therapy for children. Place of publication not identified: Mosby.
Chandler, B. E. (2010). Early childhood: Occupational therapy services for children birth to five. Bethesda, MD: AOTA Press.
Development of hand–arm bimanual intensive training (HABIT) for improving bimanual coordination in children with hemiplegic cerebral palsy
Early deprivation impairs the development of balance and bilateral coordination

So many good ideas!!! Thank you! I will definitely be trying the jump rope trick to introduce tying shoes. Also plan to put some small cloth pieces in wipes container and have at it kids!! Great ideas!!!
So glad you find them helpful, Cara! Let me know how it goes!