I think a mud kitchen is one of my favorite outside play spaces known to mankind. This guide will explain all of its developmental benefits and how to make your own mud kitchen. (Don’t be nervous, we are not super duper handy people in this house nor do we have all the fancy tools!) Read along for a true DIY mud kitchen.
Benefits of a Mud Kitchen

A mud kitchen is an OT’s dream. Here’s why:
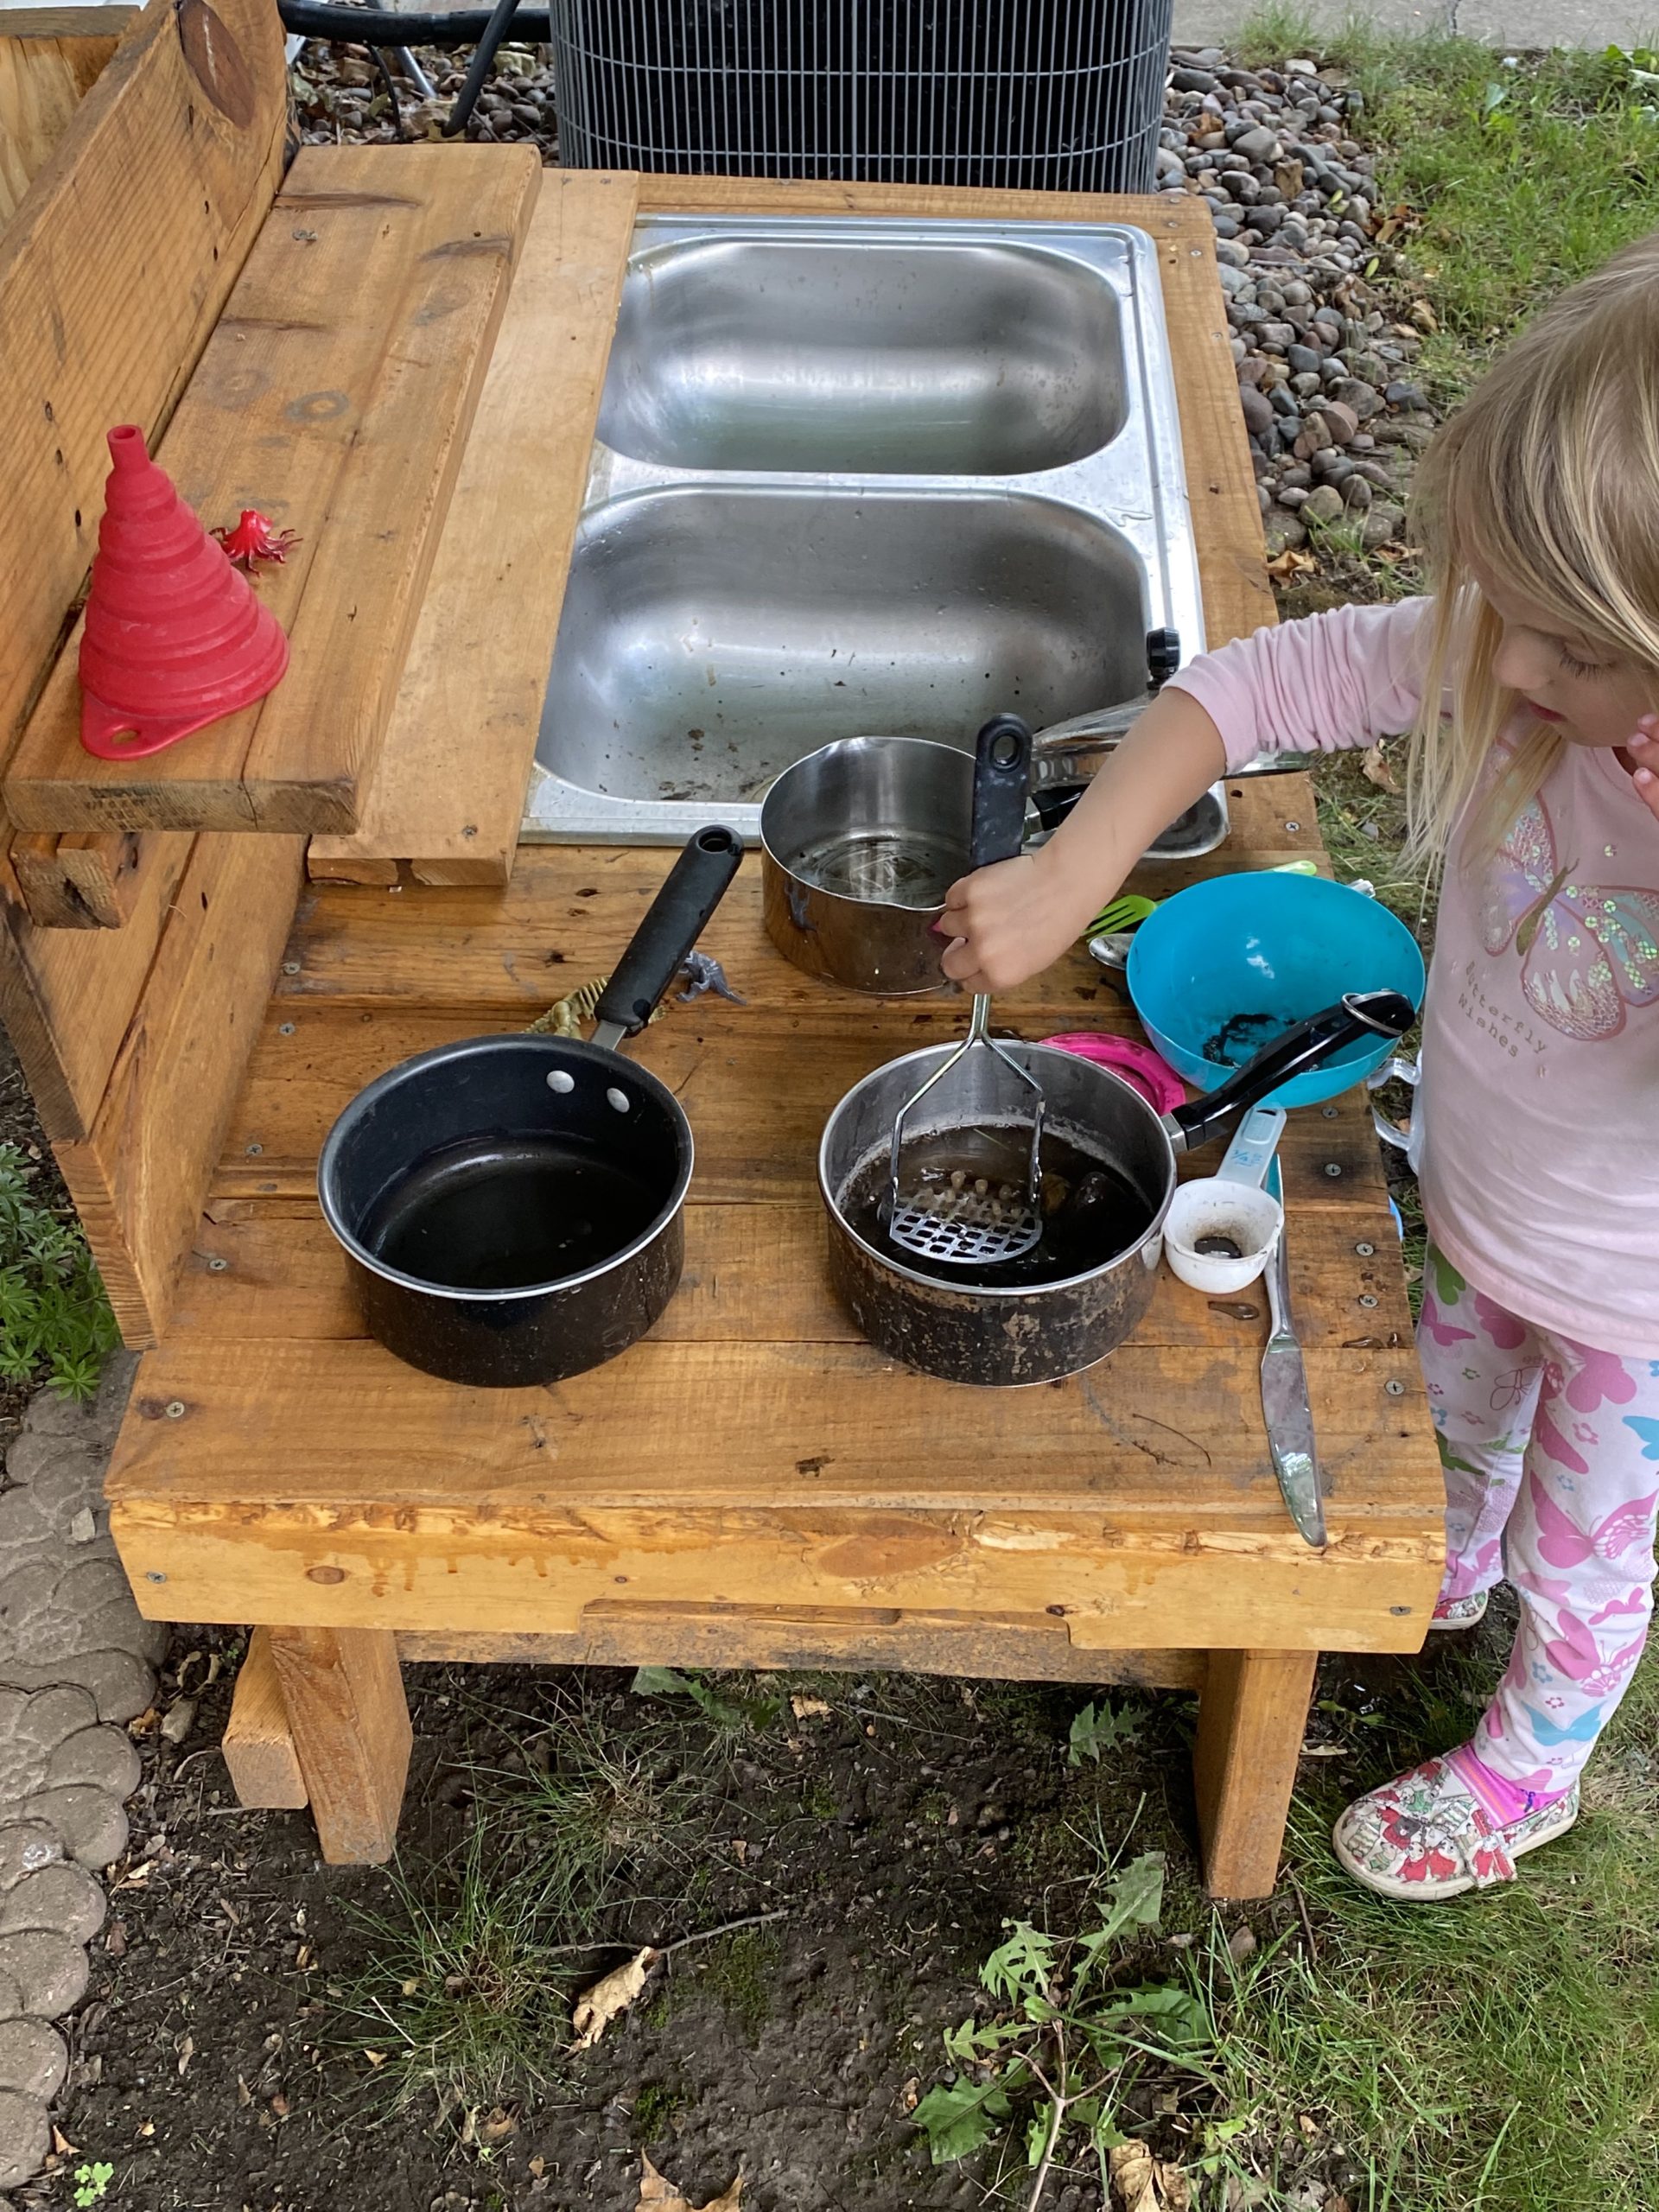
- Messy play: Hello! MUD. KITCHEN. Having this medium allows kids to engage in messy play that engages their tactile sensory system. Use of dirt, water, mud, stones, grass, sticks, soap, paint, bubbles, chalk, etc allows for them to feel and explore with various textures.
- Imaginative play: When kiddos are set up with tools and a scheme, they can run watch, imitate, and create their own. Consider supporting them by playing restaurant, pizza party, bakery, birthday, car wash, animal bath. Use of real tools can help solidify their relational play. This is when they use a tool for what it is intended within a play setting. An example of this would be pretending to eat a mud pie on a plate with a fork. It also strengthens representational play, or pretending an object is something else, such as a leaf is a cracker. And lastly, imaginative play is pretending something is there when it is not, such as the pretend exchange of money at your “restaurant”. Model this for them initially and let them go!
- Tool use: which also means, hand strengthening, visual motor integration (or hand eye coordination), bilateral coordination, force gradation, pouring practice. Check out below for specific things to add.
- Physical gross motor skills: standing at a surface, squatting down, traveling back and forth between mud and kitchen, and walking over uneven surfaces are all excellent skills to work on with this set up.
Tools to Add for more Fun
Head on over to the dollar store, garage sales, and your local thrift stores and look for tools and dishes to use in the kitchen. The more they look like “real” tools that we would use as adults, the better.
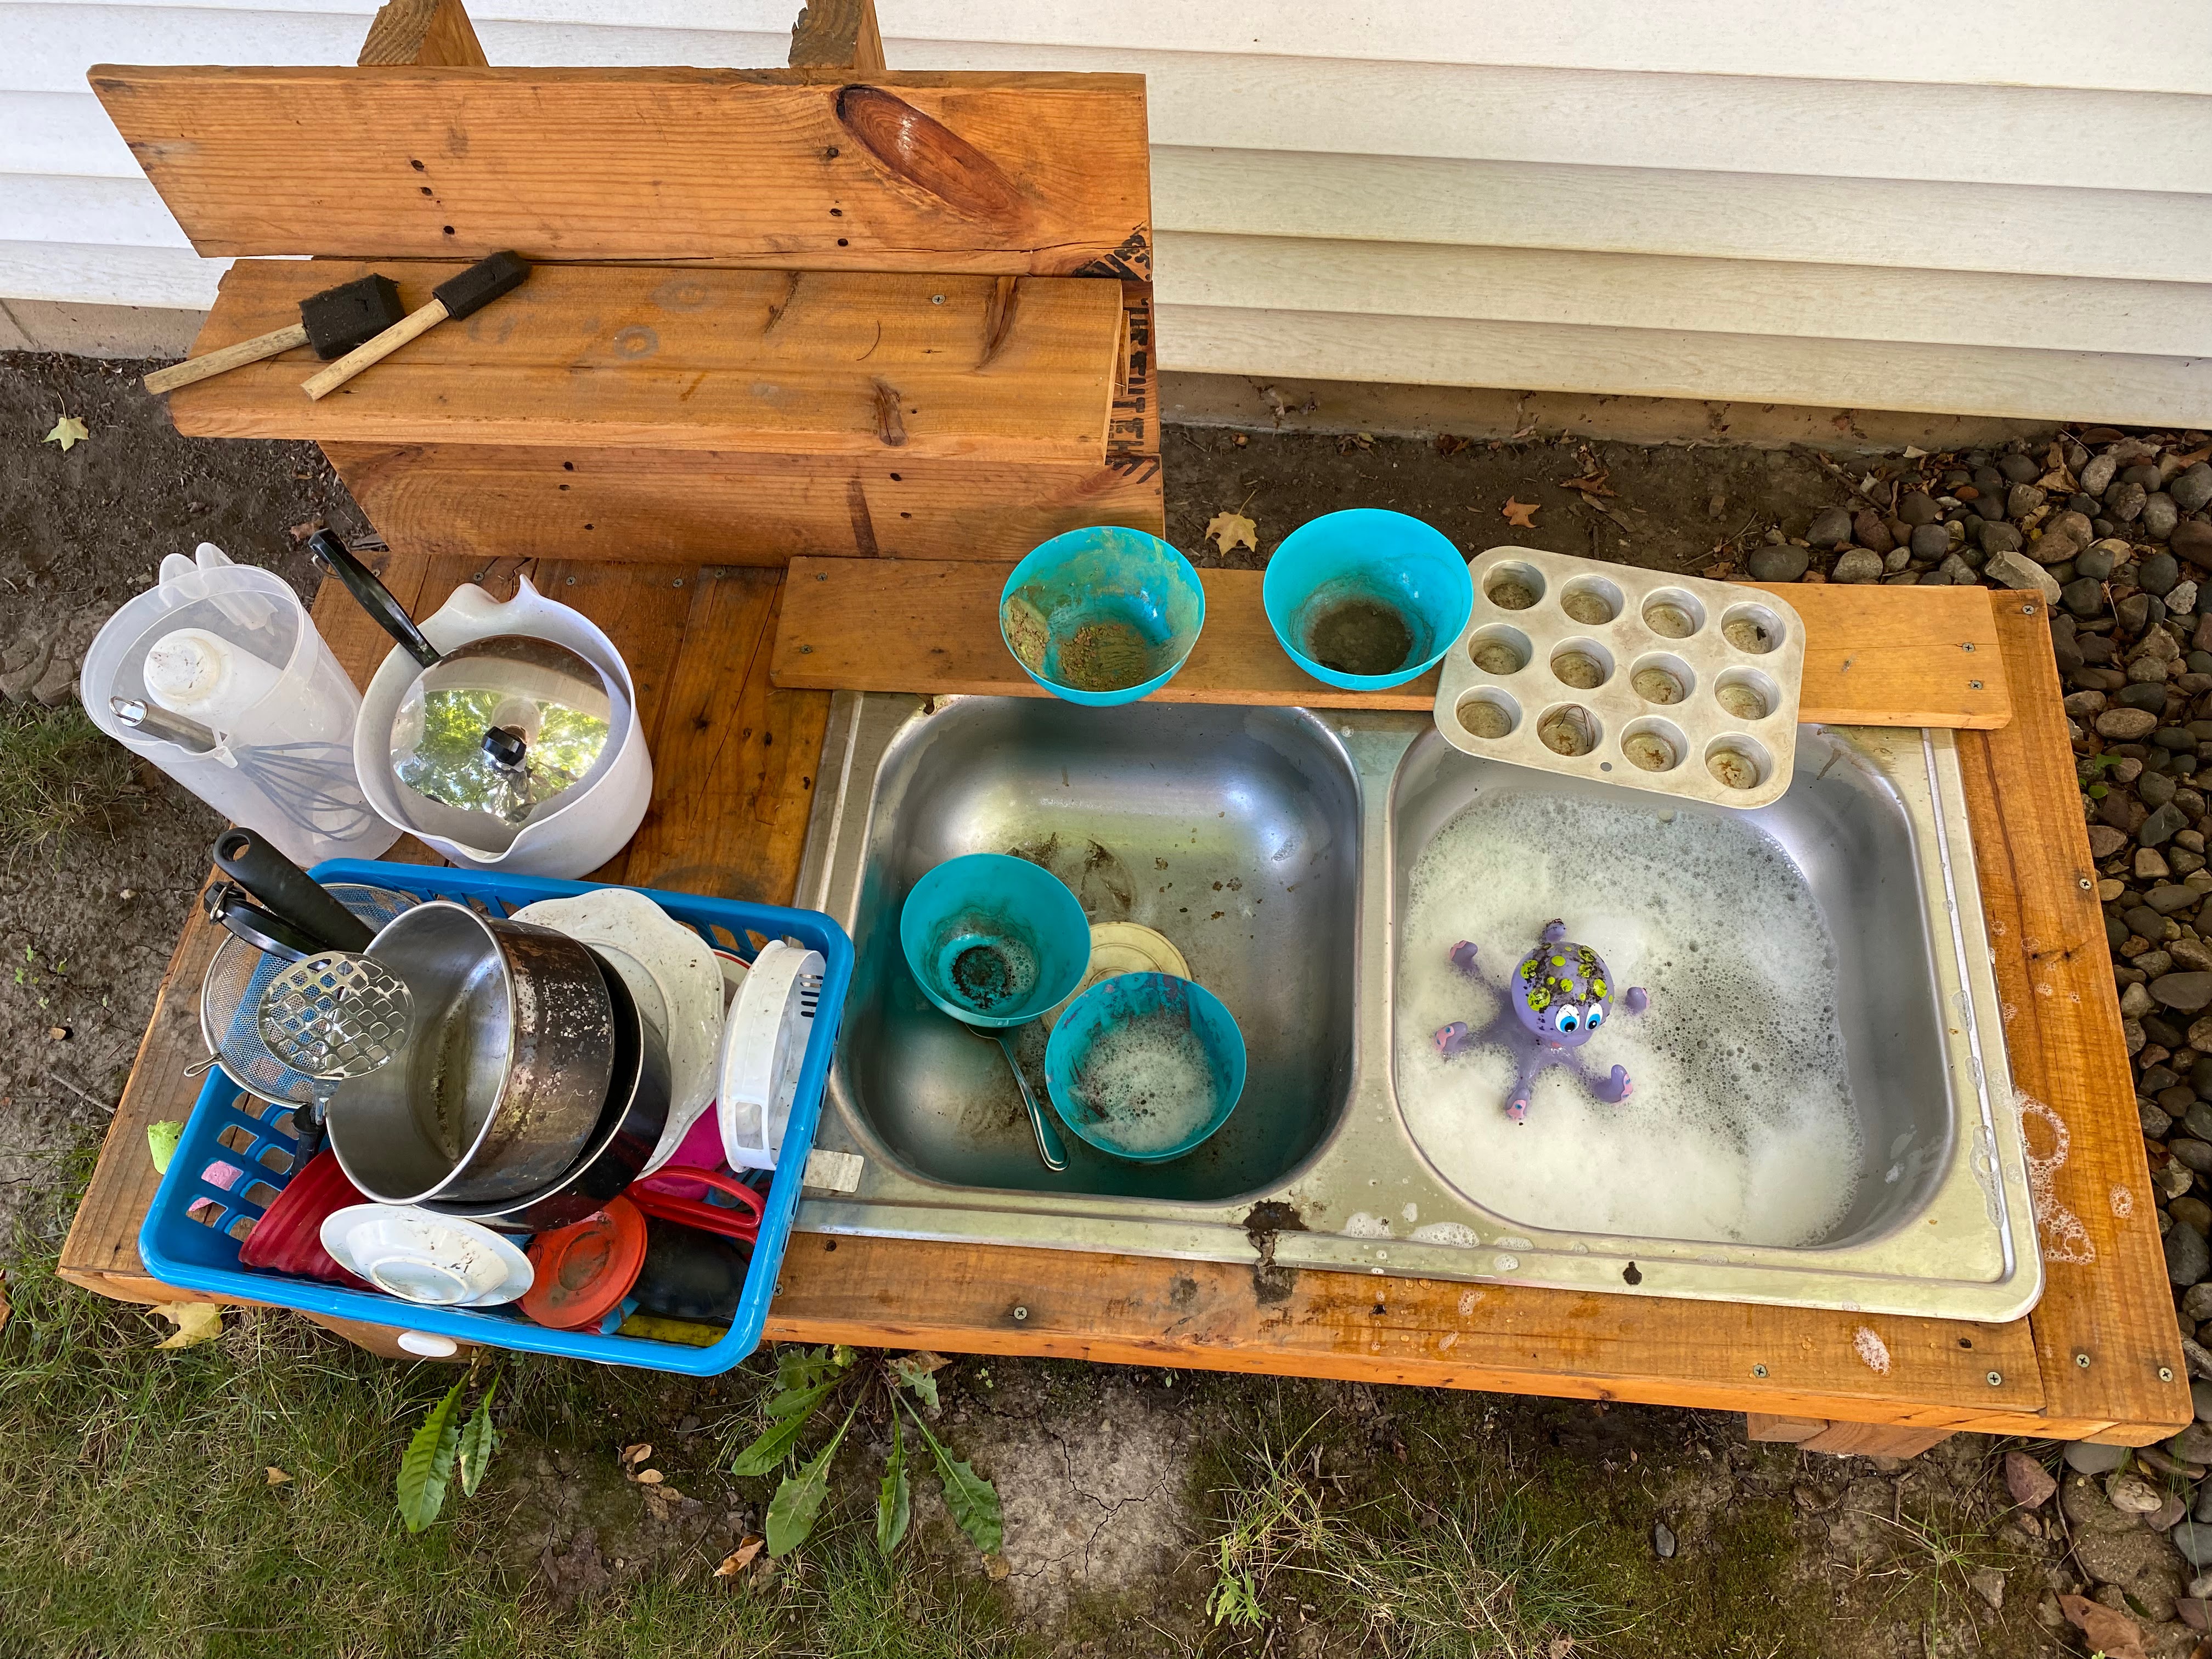
Here are some must-have utensils and objects to include:
- Pots and pans
- Pitchers
- Measuring cups
- Muffin tins or cake pans
- Plates, bowls, cups
- Mixing bowls
- Spatulas, spoons, and scoops
- Fun items like potato mashers, whisks, ice cream scoop, tongs, plastic knives
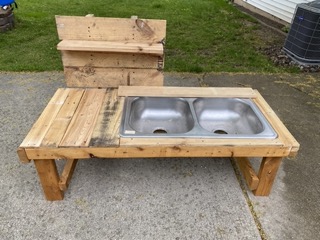
Build Your Own

Ok, you will quickly see that this mud kitchen is VERY DIY. If you are looking for a picture perfect mud kitchen… you might want to follow someone else’s instructions. We used materials we had, found at re-stores, thrift stores, and hand-me-downs. This worked for us. It might not for you. Another option could be finding an old play kitchen that you don’t mind getting weathered and intentionally using it as a mud kitchen. The key to that will be finding some awesome tools mentioned above.
Materials
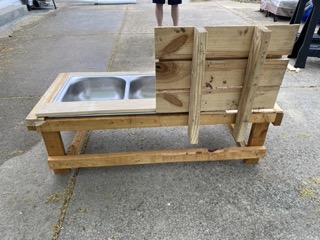
- 2-3 wood pallets
- 3-4 2×4″
- stainless steal sink
- hooks, nobs, accessories
- Saw or pry bar
- hammer and nails
- stain or weather-friendly paint
Steps
First, my husband took apart the pallets. He used the wooden braces as the structure of the kitchen. He used the top flat panels as the “counter top” of the kitchen.

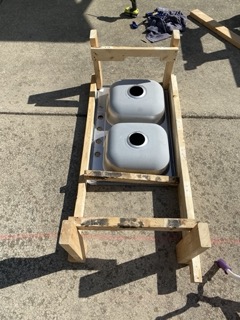
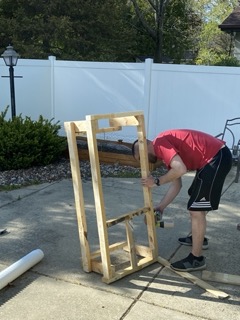
He then made a rectangle to the desired size with the 2×4 pieces. He assured that the sink fit in there with extra space for the kids to work alongside it. Once he “measured” this ;), he screwed the rectangle together with the legs (wood from the panels). He then filled in the spaces around the sink with the flat panels. My husband added wheels/casters to one side of the kitchen to be able to move it around the yard a bit easier.
We sanded that bad boy down to prevent splinters and stained the puppy up to protect it a bit from the weather. We added the hooks, nobs, and I’m going to paint on a “stove top” once the weather cooperates this spring. I’m also collecting old spice containers, food cans, and jars for them to add to their set up.
I want to hear from you! Send me your pictures of your mud kitchens. But not if they’re too cute. 🙂 I’ll get envious.

One thought on “Make Your Own Mud Kitchen”